How To Attach Youtube Videos In Html Files

INTRODUCTION
The best and easiest way to play a video in HTML is by embedding a Youtube video. Adding videos directly to your HTML makes your files heavy, which could be a bad experience because your website will take time to load. The goal is to build user-friendly projects, the only way we can achieve that is by compressing the videos. It is encouraged to compress your videos because it helps users to reduce the storage space of web resources and also makes the loading time shorter. In this article, I will show you tricks for uploading large a video to your HTML file.
STEPS TO ATTACH A YOUTUBE VIDEO IN HTML FILE
Follow the following steps to attach a YouTube video in HTML.
STEP 1: Upload the video you want to attach to YouTube Studio (you check my last article to learn how to upload a video on YouTube. You can also search for any YouTube video of your choice.
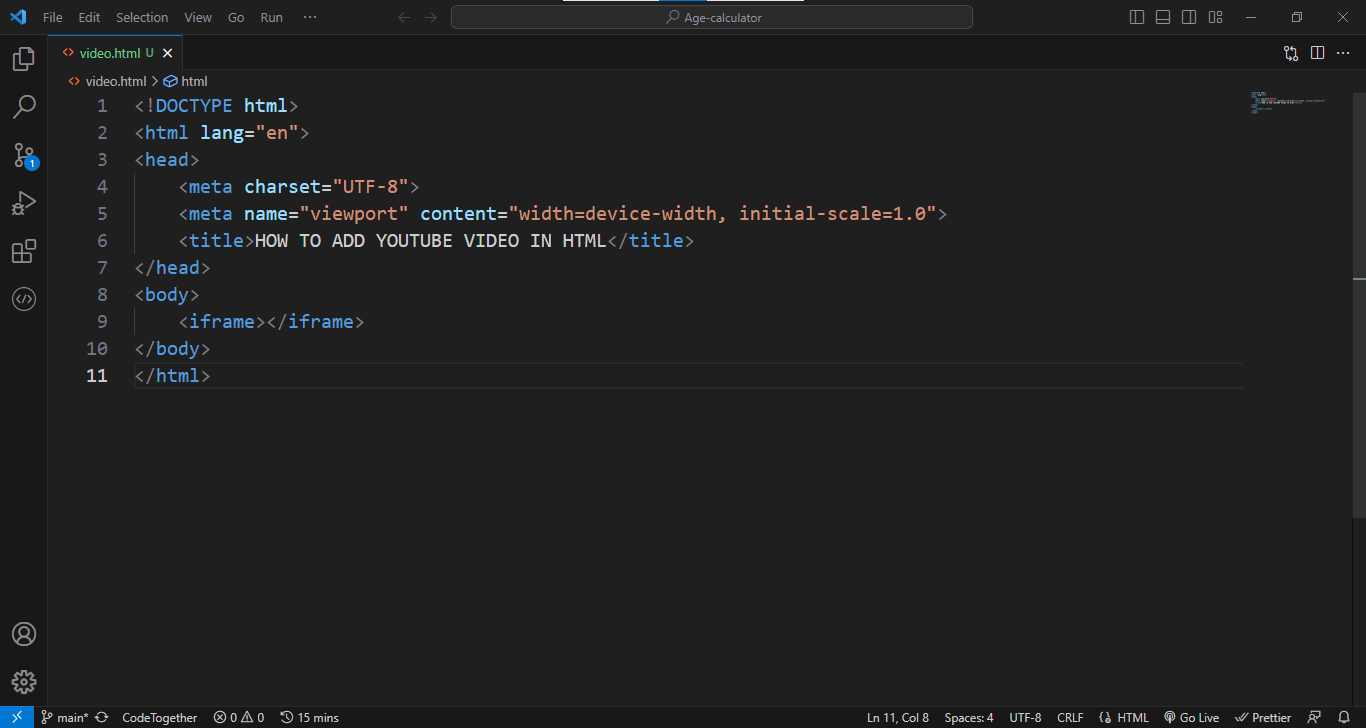
STEP 2: Open your VS Code, add the boilerplate, and edit the title on your web page.

STEP 3: After that, define the <iframe> element in the body tag.
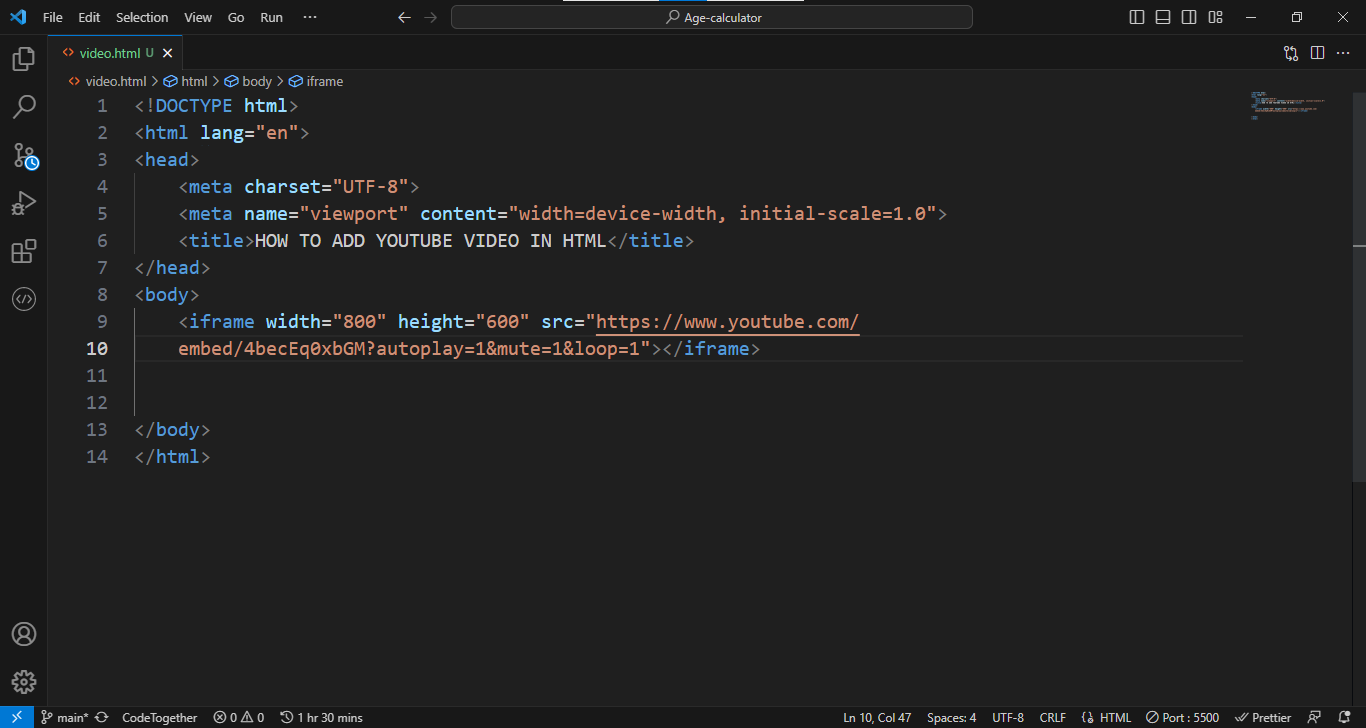
STEP 4: Add the width and height of your choice to the opening tag.

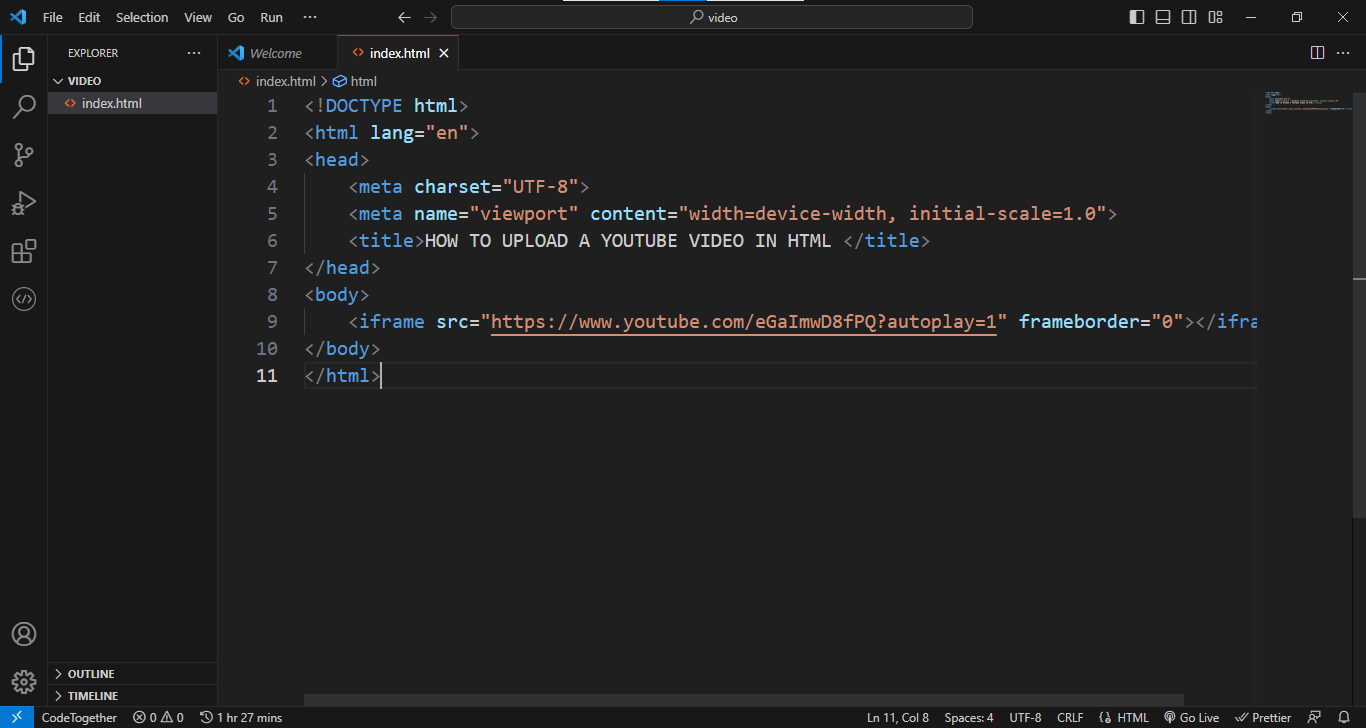
STEP 5: Add the src attribute to the <iframe> tag, inside the “src” attribute, add the YouTube URL.

STEP 6: After the YouTube URL, add “/embed/”.

STEP 7: Copy the ID of the YouTube video you uploaded or the one you searched on YouTube. ( YouTube video ID is unique for every video. It is the last 11 digits at the end of your YouTube URL.)

STEP 8: Paste the YouTube video ID you copied inside the “src” attribute. ( It should be immediately after “/embed /”.)

STEP 9: Right-click anywhere on your VScode, scroll down to “Open with Live Server”, this will take you to your browser.

STEP 10: Your video is on your browser.
For your video to be complete, you need to add four parameters to what you already have inside the src attribute. The parameters are:
- Autoplay: We use this to set our video to play automatically or not. The video will play by itself when the autoplay is equal to 1. When the autoplay is equal to 0, it will not play automatically.
Inside the “src” attribute, add the “?” sign immediately after the video ID, followed by autoplay=1 as seen in the image below.
- Mute: Use this feature to either mute or unmute your video. To unmute, use “mute = 0” and mute =1 to mute the video. Add “&mute = 1” after “autoplay =1” inside your “src” attribute to play the video you attach automatically and also mute it.

- Loop: It allows your video to play after it finishes.“Loop =1” will let your video loop forever, while “loop = 0” will only allow your video to play once. In your URL, add “&loop =1” after the “mute =1”.
- Controls: This is the last parameter. It is to display the video control buttons such as pause, play, forward, rewind buttons, and so on. To hide your video’s control buttons, add “controls = 0”, and add “controls = 1” to display the video’s controls. Inside your“src” attribute above add “& controls = 1” after “loop = 1”.

CONCLUSION
In conclusion, uploading a YouTube video using HTML is a straightforward process. Follow the step-by-step guide outlined in this article to embed your YouTube video into your web page. Remember that attaching a YouTube video using HTML will improve your site performance and also enhance the overall user experience. I hope you embed a YouTube video after reading this article.


